Why this matters
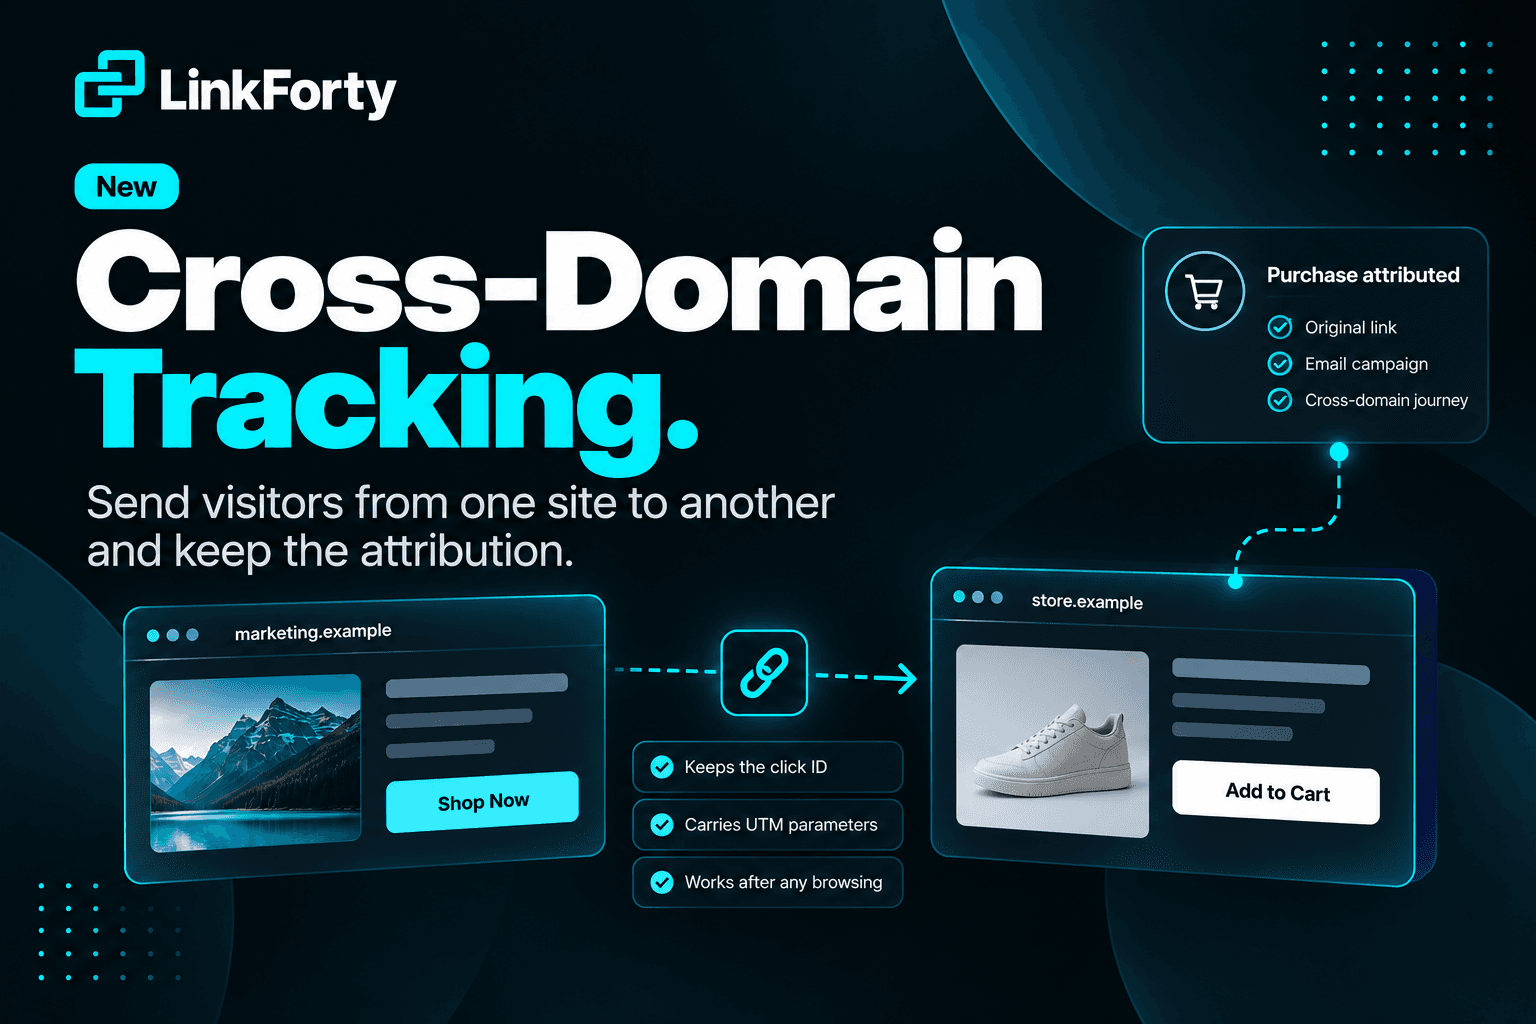
Plenty of journeys cross a domain. A campaign lands people on a marketing site, and the buy button points at a store on a different domain. A brand runs several sites that all feed one checkout. A booking page lives with a vendor. In every one of those, the click that started the journey happened on one domain and the conversion happens on another.
The Web Pixel remembers which link brought a visitor in for the whole session, so a signup three pages later still attributes correctly. That memory is stored by the browser per site, which is exactly the right scope for privacy and exactly the wrong one for this journey. The moment the visitor crosses to the second domain, the pixel there starts a fresh session with no link behind it, and the purchase shows up unattributed. You can see that the store converted. You cannot see which email did it.
Copying parameters from the URL does not fix it, because the visitor rarely goes straight from the landing page to the store. After one page of browsing on the first site, the URL no longer carries anything about the click.
What it does
Add the domains you send visitors to on the pixel tag of the site that receives the click:
<script src="https://cdn.linkforty.com/pixel.js"
        data-workspace="ws_your_site_key"
        data-link-domains="store.com, shop.example"
        async></script>
When a visitor clicks a link or submits a form pointing at one of those domains, the pixel stamps the URL with the session's originating click id right before the browser navigates, along with the session's UTM parameters when the destination carries none of its own. The pixel on the second site reads them from the landing URL the same way it reads them after a redirect, and the new session inherits the old one's origin. A purchase there attributes to the exact click, so your Web analytics and Campaigns tab show which link, and which campaign, produced the checkout.
- Works after any amount of browsing. The click id comes from the pixel's own session memory, not from the current page's address.
- Every way of following a link. Normal clicks, middle-click, open in new tab, copy link, and keyboard activation all get the stamped URL. Forms are covered too.
- Only the domains you list. Links within your own site and links to any other host are never touched, and a listed domain covers its subdomains.
- Deliberate tagging is respected. If a destination URL already carries UTM parameters, they stay. Only the click id is added.
- Nothing new to consent to. No cookie, no identifier that outlives the session. The click id already travels on every LinkForty link; this carries it one hop further, and it stays off when the browser signals Do Not Track.
How it works
The pixel has always attributed a session by the click id LinkForty appends to a link's destination, with UTM matching as the fallback. Cross-domain tracking changes nothing about that. It only makes sure the id reaches the second site. The click id stays valid for seven days after the click, which covers a normal browse-then-buy journey, and it only ever resolves inside the workspace that owns the link.
Both sites run the pixel with the same site key. Only the sending site needs data-link-domains.
Things to know
- Server-side redirects on the receiving site can drop the parameter before the pixel sees it. WooCommerce's Redirect to the cart page after successful addition is the common case. Land on the product page, or turn that option off.
- Navigations assembled in your own code, such as
window.open()or settinglocation.href, bypass the page's links and are not decorated. Append the parameters yourself in those cases.
Getting started
- Install the pixel on every site in the journey with the same site key, and make sure each hostname is on your workspace's allowed domains.
- On the sending site, add
data-link-domainswith the domains you link out to. - Fire your conversion on the receiving site as usual, and read the results under Analytics → Web.
The full reference, including what is stamped and when, is in the Web Pixel docs.